Shrink 3.0mm vs. 4.5mm: How to Choose the Depth for Different Effects
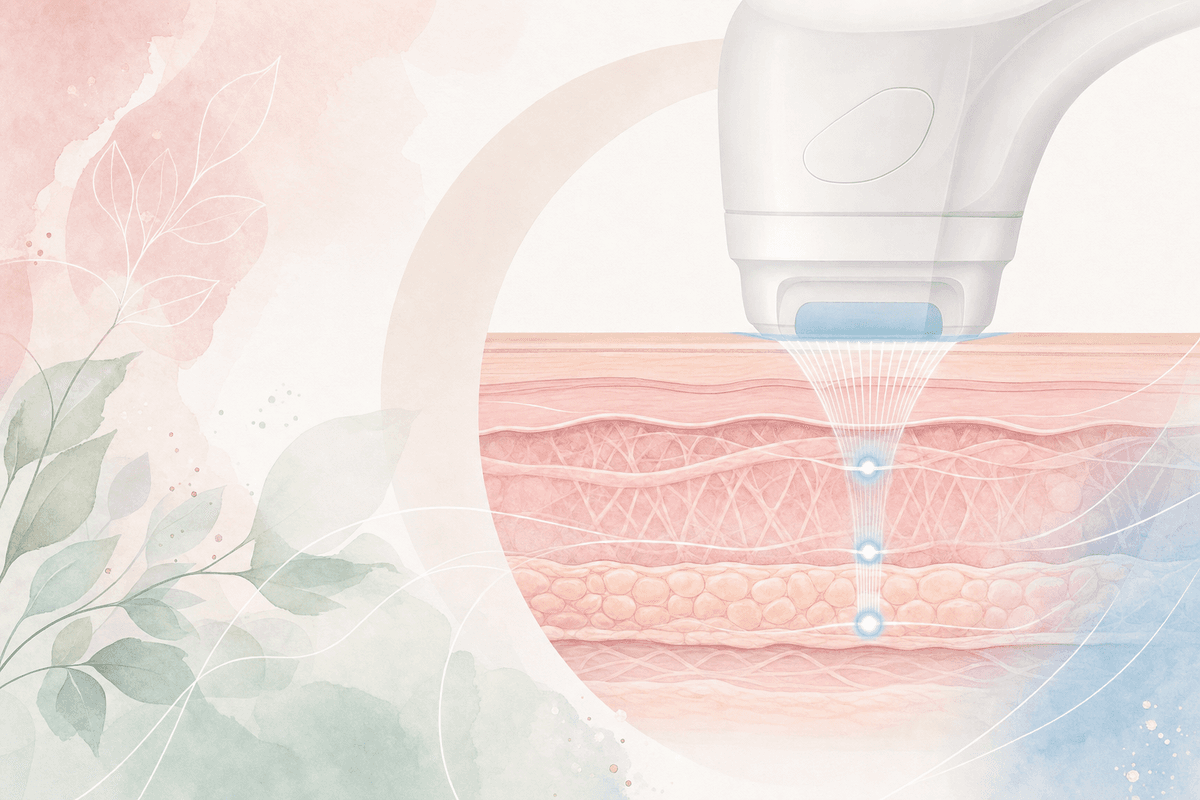
- When considering cartridge depth by concern type, results can differ twofold.
- 3.0mm is for elasticity, 4.5mm for contour — different layers mean entirely different points of action.
- A mere 0.5mm difference in skin thickness can lead to over-output at the same depth.
Information as of August 2026
The subtle difference in cartridges determines the lifting outcome.
- 3.0mm targets the dermal layer at 1.5-3.0mm depth.
- 4.5mm reaches the SMAS layer.
- Choosing the wrong depth can reduce effectiveness to less than 30%.
Everyone worries about shot count, but what truly makes a difference is something else.
During consultations for Ultherapy, most people first ask, 'How many shots will I get?' However, I've found that what truly differentiates the results is the cartridge depth. Even with the same 500 shots, whether it's delivered with a 3.0mm or a 4.5mm cartridge changes the layer being targeted.
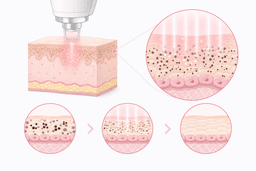
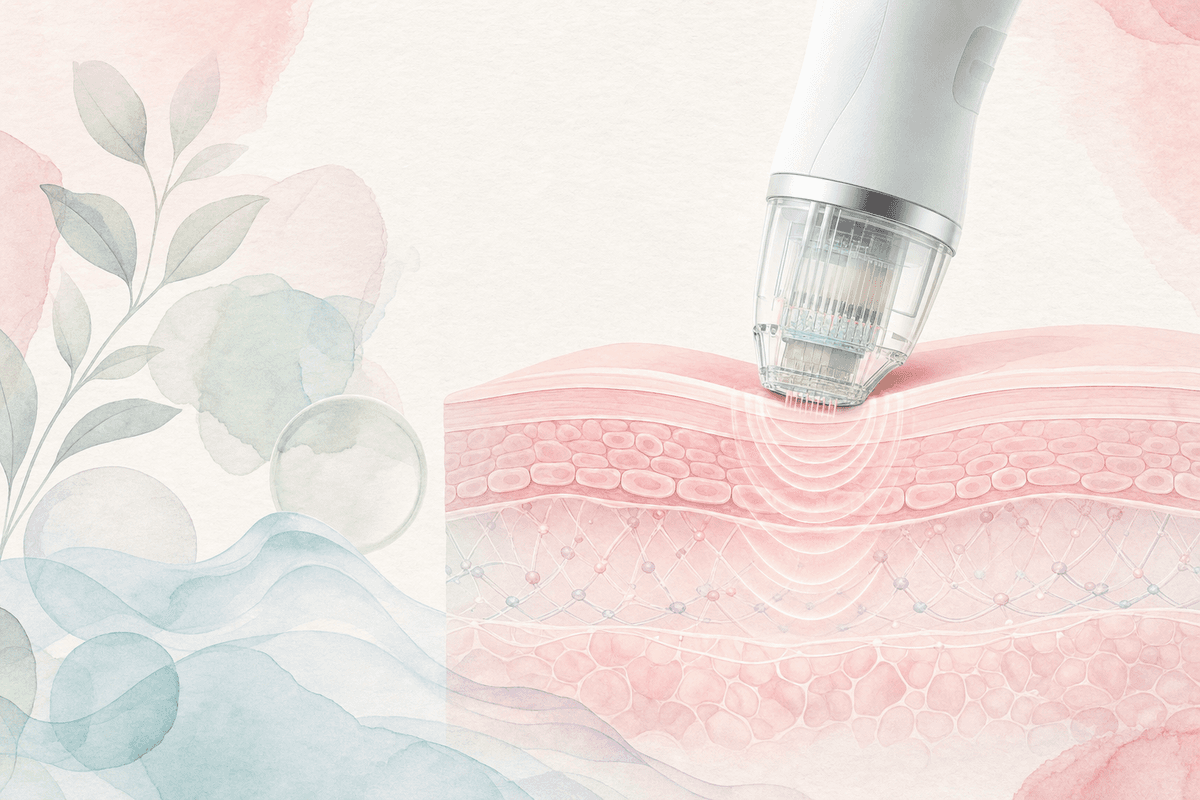
The 3.0mm cartridge targets the dermis at a depth of 1.5-3.0mm, while the 4.5mm cartridge reaches the SMAS layer (Superficial Musculo-Aponeurotic System). When viewed in cross-section, 3.0mm stimulates collagen remodeling, and 4.5mm causes fascial contraction — two entirely different mechanisms. If you choose incorrectly, even with many shots, the desired effect might be less than 30% of what you hoped for.
In this article, I'll break down how these two depths work differently and provide guidelines on which cartridges to choose based on your skin type and concerns.
Different layers mean entirely different mechanisms of action.
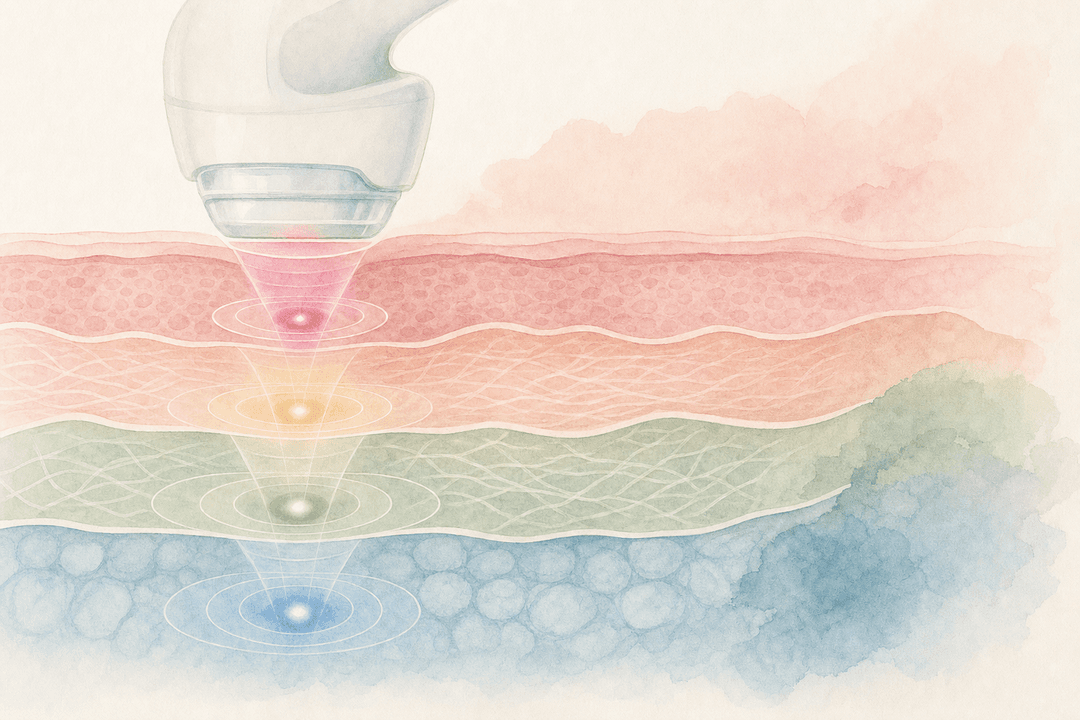
Ultherapy works by focusing ultrasonic energy to a single point, creating a coagulation point at 65-70°C. The tissue where this coagulation point forms immediately contracts, followed by a collagen regeneration process over 3-6 months. However, the effectiveness varies greatly depending on which layer the coagulation point is formed in.
The 3.0mm cartridge creates coagulation points in the mid-to-deep dermis. This layer is densely packed with collagen and elastin fibers, and when stimulated by heat, it activates fibroblasts, increasing the synthesis of Type I and Type III collagen. A 2013 clinical study published in the *Journal of Cosmetic Dermatology* reported an average increase in dermal thickness of 12% three months after 3.0mm-only treatment.
The 4.5mm cartridge penetrates down to the fascial layer (SMAS) beneath the skin. This layer acts as a structural support that anchors the skin to the bone; as we age, it loosens, leading to jowls and nasolabial folds. The 4.5mm coagulation point immediately contracts this fascia, providing a physical lifting effect. In 2009, the US FDA approved the 4.5mm cartridge for Ultherapy for the indication of 'brow lifting'.
In summary, 3.0mm improves skin texture and elasticity, while 4.5mm lifts contours and addresses sagging. Because they target different layers, their mechanisms and the timing of results also differ.
Key Takeaway 3.0mm stimulates collagen synthesis (dermis), while 4.5mm causes fascial contraction (SMAS) — even a 1-2mm difference in target depth leads to completely different outcomes.
- 3.0mm: Targets dermal layer at 1.5-3.0mm depth, collagen remodeling
- 4.5mm: Reaches SMAS layer at 4.0-4.5mm depth, fascial contraction
- FDA-approved Ultherapy 4.5mm: Brow lifting indication in 2009
True or False Quiz
For those with thin skin, using more 4.5mm cartridges leads to better lifting results.
Check the answer
False For thin skin, excessive heat energy from 4.5mm can concentrate, leading to severe pain and swelling. A combination centered around 3.0mm with a small amount of 4.5mm is safe and effective.
3.0mm vs 4.5mm: Seeing the difference in effectiveness with numbers.
Let's compare the differences between these two depths using clinical data. A 2018 study published in the *Aesthetic Surgery Journal* tracked 120 women in their 40s for six months, dividing them into groups receiving only 3.0mm, only 4.5mm, or a combination.
The 3.0mm-only group showed an average 18% reduction in pore size and a 14% improvement in skin elasticity, but improvements in jawline and cheek sagging were minimal, less than 5%. In contrast, the 4.5mm-only group showed an average 7.2-degree improvement in jawline angle and a 22% reduction in nasolabial fold depth, but pore and texture improvements were around 8%.
The combination group (3.0mm + 4.5mm) showed higher improvement rates across all metrics compared to the single-depth groups. With a 9.1-degree improvement in jawline angle and a 23% reduction in pore size — combining both depths allows coverage of all layers from the epidermis to the fascia. In Korea, most clinics use this combination protocol, but the key is adjusting the ratio based on individual skin thickness and concerns.
| Depth | Target Layer | Primary Effects | Onset of Improvement |
|---|---|---|---|
| 3.0mm | Dermis 1.5-3.0mm | Pores, Elasticity, Texture | 2-3 months |
| 4.5mm | SMAS layer 4.0-4.5mm | Jawline, Sagging Cheeks, Contours | 1-2 months |
| 1.5mm | Epidermis-Superficial Dermis | Fine lines, Skin texture | 1 month |
Onset of improvement is an average and may vary depending on individual skin condition and treatment shot count.
- 3.0mm only: 18% reduction in pore size, 14% improvement in elasticity
- 4.5mm only: 7.2-degree improvement in jawline angle, 22% reduction in nasolabial folds
- Combination protocol: Average 1.5 times improvement compared to single-depth treatments
Cartridge selection by skin type — Combinations that vary based on concerns.

Even at the same age, the cartridge combination should differ based on skin thickness, fat volume, and degree of sagging. What many people overlook here is skin thickness. The average skin thickness for Korean women is 1.2-1.5mm, with individual variations up to ±0.5mm.
For those with thin skin (under 1.0mm), excessive use of 4.5mm can lead to concentrated heat energy, causing severe pain and prolonged swelling. In such cases, a combination centered around 3.0mm with only a small amount of 4.5mm for the jawline is safer. Conversely, for those with thicker skin or significant fat layers, 3.0mm alone may not deliver energy effectively to the fascia, making it more beneficial to increase the proportion of 4.5mm or add 1.5mm to cover the epidermis as well.
The 2020 guidelines from the Korean Dermatological Association recommend 'adjusting the depth ratio based on priority concerns'. If pores and elasticity are urgent concerns, a ratio of 70% 3.0mm + 30% 4.5mm; if jawline and contours are the priority, then 60% 4.5mm + 40% 3.0mm.
Caution A difference of ±0.5mm in skin thickness can lead to over-delivery even at the same depth. Clinics that measure skin thickness with ultrasound before treatment are safer.
Cost differences and shot distribution — Strategies by budget.
The price varies by cartridge depth, and the recommended number of shots also differs by area. The average cost in Korea is 150,000-250,000 KRW for 300 shots of 3.0mm and 200,000-300,000 KRW for 300 shots of 4.5mm. The 4.5mm is slightly more expensive due to its cartridge design, which stably delivers energy to deeper layers.
For a full face with 600 shots, a combination of 400 shots of 3.0mm + 200 shots of 4.5mm typically ranges from 300,000 to 500,000 KRW. To reduce the budget, you could focus 4.5mm only on the jawline and nasolabial folds (100-150 shots) and fill the rest with 3.0mm. Conversely, if sagging is severe, you might increase the proportion of 4.5mm up to 400 shots and add 3.0mm only to areas with pore concerns.
However, simply increasing the shot count doesn't proportionally increase effectiveness. A 2019 study in *Dermatologic Surgery* reported that collagen synthesis reached saturation with more than 600 shots concentrated on the same area. Exceeding optimal density only increases side effects, highlighting the greater importance of depth distribution.
| Combination | Total Shots | Estimated Cost | Suitable Cases |
|---|---|---|---|
| Primarily 3.0mm | 500 shots 3.0mm + 100 shots 4.5mm | 300,000-450,000 KRW | Pores/Elasticity priority, mild sagging |
| Balanced | 300 shots 3.0mm + 300 shots 4.5mm | 400,000-600,000 KRW | Simultaneous improvement of elasticity and contours |
| Primarily 4.5mm | 200 shots 3.0mm + 400 shots 4.5mm | 500,000-700,000 KRW | Noticeable jawline/cheek sagging |
Costs may vary depending on the area, scope, and medical institution.
- Average price for 3.0mm: 150,000-250,000 KRW for 300 shots
- Average price for 4.5mm: 200,000-300,000 KRW for 300 shots
- Collagen synthesis saturation beyond 600 shots — Depth distribution is more important
Ultimately, the selection criteria are based on 'your priority concerns'.
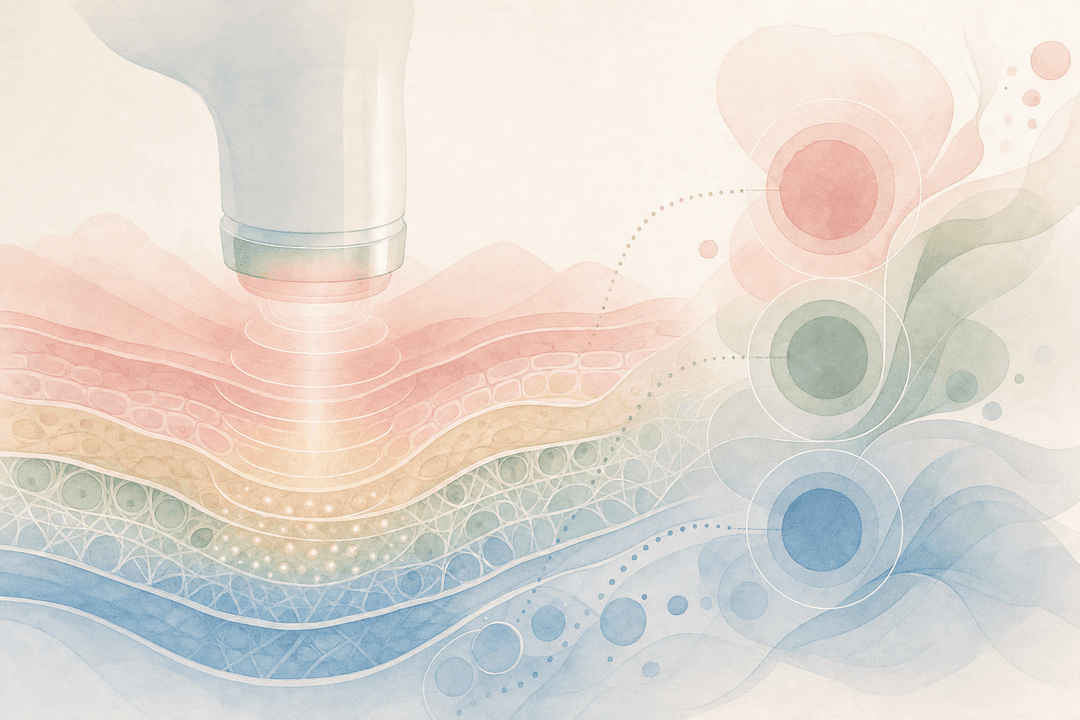
Both depths are safe and effective, but the key is to first determine what your biggest concern is right now. If pores are the first thing you notice in the mirror, focus on 3.0mm; if it's your jawline, focus on 4.5mm.
Also, since skin thickness and fat volume are difficult to assess on your own, be sure to request an ultrasound measurement during your consultation. A 0.5mm difference can lead to over-delivery even at the same depth. Lastly, if your budget is tight, a split strategy where you focus on contours with 4.5mm first and then add 3.0mm for elasticity three months later can be effective.
- Request ultrasound measurement of skin thickness during consultation is essential.
- Priority concerns → Depth ratio decision → Shot distribution within budget order.
- Split strategy: 1st session 4.5mm for contours → 3 months later 3.0mm for elasticity enhancement.
Key Comparison: 3.0mm vs 4.5mm Cartridges
3.0mm [Elasticity/Texture]
- Target: Dermis 1.5-3.0mm
- Effects: 18% pore reduction, 14% elasticity improvement
- Onset: 2-3 months
- Cost: 150,000-250,000 KRW for 300 shots
Focuses on collagen remodeling; choose if skin texture and pores are your priority.
4.5mm [Contours/Sagging]
- Target: SMAS layer 4.0-4.5mm
- Effects: 7.2-degree jawline angle improvement, 22% nasolabial fold reduction
- Onset: 1-2 months
- Cost: 200,000-300,000 KRW for 300 shots
Focuses on fascial contraction; choose if jawline and sagging are your priority.
Combination Protocol [Full Layer Coverage]
- Combination: 3.0mm + 4.5mm
- Effects: Average 1.5 times improvement compared to single-depth treatments
- Recommendation: Simultaneous improvement of elasticity and contours
- Cost: 400,000-600,000 KRW for 600 shots
Standard protocol at most clinics.
Cartridge selection guide for your skin type and concerns.
Late 20s-early 30s, with primary concerns of pores and skin texture, and minimal sagging
70% 3.0mm + 30% 4.5mm (400 shots 3.0mm + 200 shots 4.5mm)
At this age, fascial laxity is usually mild, so it's more efficient to reduce the proportion of 4.5mm and focus on collagen synthesis in the dermis.
Late 30s-40s, with noticeable jawline sagging and nasolabial folds, and also concerned about elasticity
60% 4.5mm + 40% 3.0mm (360 shots 4.5mm + 240 shots 3.0mm)
First, lift the contours through fascial contraction, then enhance overall lifting by improving epidermal elasticity with 3.0mm.
If you have thin skin or are sensitive to pain
Centered around 3.0mm + only a small amount of 4.5mm for the jawline (500 shots 3.0mm + 100 shots 4.5mm)
Excessive use of 4.5mm on thin skin can concentrate heat, leading to severe pain and swelling, so reducing its proportion is safer.
If your budget is limited to under 300,000 KRW
1st session: Focus on jawline with 300 shots of 4.5mm → 3 months later: Add 300 shots of 3.0mm
A split strategy that first addresses contours and then enhances elasticity later is more cost-effective than receiving 600 shots all at once.
Misconceptions Debunked
Myth 4.5mm is better because it's deeper.
Truth 4.5mm targets the fascial layer and is effective for jawline and sagging, but its pore and elasticity improvement is less than 3.0mm. The effects differ based on your concerns.
Myth Getting more shots on the same area proportionally increases results.
Truth Collagen synthesis reaches saturation beyond 600 shots, and over-delivery only increases swelling and bruising. Optimal distribution by depth is more important.
Precautions When Choosing Ultherapy Cartridges
- **Without measuring skin thickness**, arbitrarily setting the depth risks over- or under-delivery — request an ultrasound measurement during consultation.
- **Excessive overlap of 3.0mm + 4.5mm on the same area** can cause thermal damage — maintain a total shot count within 600-800 shots.
- **Exposure to saunas or high-temperature environments for 2 weeks post-treatment** can prolong swelling — avoid heat exposure.
- **Contraindicated during pregnancy, breastfeeding, for those with keloid tendencies, or active skin inflammation** — must be disclosed during medical history review.
- **Avoid clinics using low-cost equipment or uncertified cartridges** — check for FDA approval (Ultherapy) or MFDS certification (Ultherapy Universe, etc.).
Frequently Asked Questions
Can I get both 3.0mm and 4.5mm shots on the same day?
Yes, most clinics combine both depths in a single session. If the total shot count is within 600-800 shots, it's safe, and dividing the depths by area allows for full-layer coverage.
If I only get 4.5mm shots, will there be no pore improvement?
4.5mm targets the fascial layer, so pore improvement is about half that of 3.0mm (8% vs 18%). If pores are also a concern, adding 3.0mm is recommended.
Is the recovery period different for each cartridge depth?
There's no significant difference. For both depths, you can wash your face and apply makeup the next day, and swelling typically subsides within 2-3 days. However, excessive use of 4.5mm might prolong swelling by about a day.
If my budget is insufficient, can I choose only one depth?
If your concerns are clear, it's acceptable. If only the jawline is urgent, 4.5mm alone is effective; if only pores are urgent, 3.0mm alone is effective. However, this won't provide full-layer coverage, so consider additional treatments later.
Is there a risk of burns or nerve damage during Ultherapy treatment?
With FDA-approved devices, nerve damage reports are extremely rare. However, there is a risk of burns or pigmentation with uncertified devices or excessive energy delivery, so always check for MFDS certification. If you experience extreme pain during the procedure, inform the medical staff immediately.
Are the results permanent, or do I need retreatment?
Ultherapy results last for 6-12 months and then gradually return to the original state. Since the collagen regeneration effect is not permanent, retreatment is recommended annually for maintenance.
Lumi's Take
Isn't it fascinating how changing just the cartridge depth can lead to such different results? The key to Ultherapy isn't just the shot count, but finding the right depth combination that suits your skin thickness and concerns. Be sure to request a skin thickness measurement during your consultation and be honest about your biggest concerns. That way, you'll get the perfect treatment plan. Wishing you beautiful concerns today!
This content is for informational purposes only and does not substitute for medical advice. Always consult with a specialist before undergoing any procedure.